
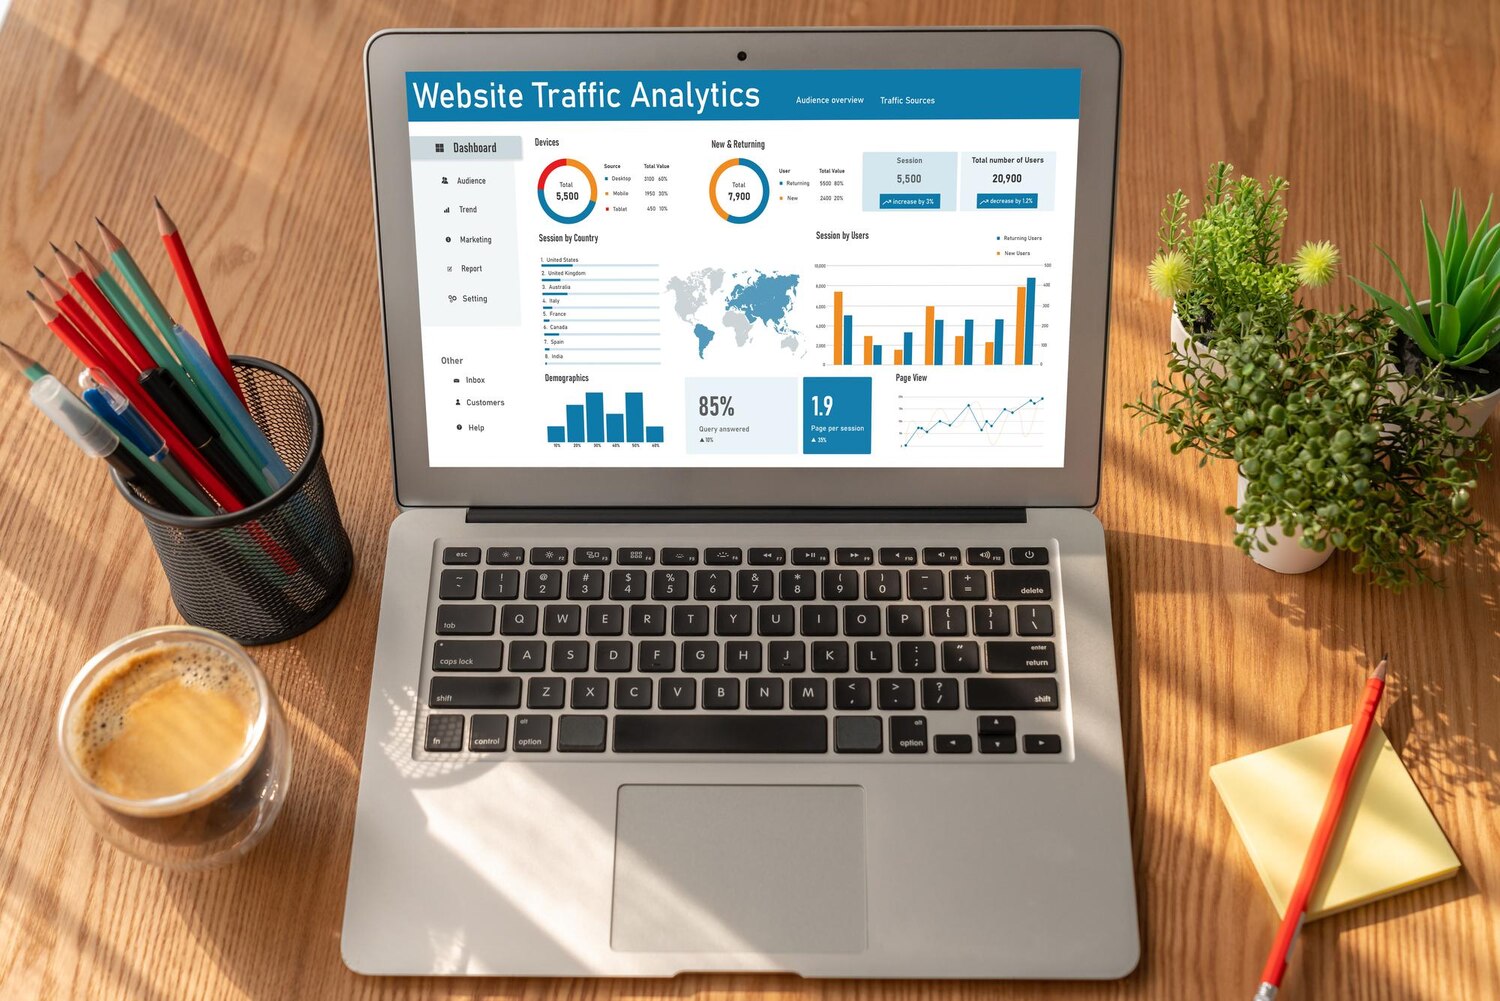
WooCommerce Analytics can help store owners review orders, revenue, products and customer activity, but the figures are useful only when the report context is clear. A different date range, cached data, refund presentation, order-status rule or incomplete historical import can make a result appear inconsistent with the store records. That does not automatically mean that one view is universally correct or that a single troubleshooting step will resolve every discrepancy.
A practical approach is to begin with the business question, select the relevant report, define the period and comparison, and then apply filters that describe the segment being reviewed. If the numbers still look incomplete or stale, verify the report definitions before changing data. Cache clearing, controlled plugin testing and historical-data import are documented troubleshooting steps, but each result should be checked against the same report context.
What WooCommerce Analytics Reports Can You Use?
WooCommerce Analytics includes report areas for categories, coupons, customers, downloads, orders, order attribution, products, variations, revenue, stock and taxes. This gives store owners several ways to examine activity, from individual transactions to broader merchandising and operational patterns.
Match the Report to the Store Question
The most useful starting point is not the report name but the decision you are trying to make. Orders and revenue reports support transaction and revenue review. Products and variations help examine merchandising performance, while the stock report addresses stock-related analysis. Customers and order attribution can support audience and acquisition analysis. Categories, coupons, taxes and downloads provide additional views of store activity.
This grouping is a practical editorial way to organize the available reports, not an official WooCommerce classification. Select the report that matches the question, then avoid treating its totals as automatically interchangeable with payment-gateway payouts, accounting records or tax filings. Those comparisons require attention to refunds, taxes, shipping, coupons, order statuses and the selected date type.
How to Read WooCommerce Sales Reports Correctly
WooCommerce sales reports become easier to interpret when the period and comparison are set before the data is reviewed. A report can show a different result simply because the selected context differs from the one used in another screen or record.
Set the Period Before Comparing Totals
The Analytics date picker supports preset ranges and custom ranges. It also supports comparisons with the previous period or the previous year. Choose the option that matches the question: a previous-period comparison may suit a recent performance review, while a previous-year comparison may suit a seasonal analysis.
Before comparing two figures, confirm that both views use the same date range, date type and report definition. Record the selected period when preparing recurring reports. Do not assume that one date setting is universally correct for every store, because the meaning of a total depends on what the report includes and how the period is defined.
Interpret Refund Rows in the Orders Report
Refund presentation can make row counts appear different from other sales totals. In the Orders Report, a refunded order can appear as two rows: one associated with the original order date and another associated with the refund date. When reviewing an apparent mismatch, check the selected period and the report context before concluding that an order is duplicated or that the data is incorrect.
Reconciliation should also distinguish Analytics figures from gateway payouts, accounting records and tax filings. Refunds, taxes, shipping, coupons and order-status rules can affect how different records represent the same store activity.
WooCommerce Analytics Filters and Segmentation
Filters turn a broad report into a useful segment. Depending on the report, WooCommerce provides quick filters and advanced filters. Begin with the date range, then narrow the results using fields that describe the products, customers, orders or commercial conditions relevant to the question.
Build a Focused Orders Report
The Orders Report can filter by order status, products, coupon codes, customer type, refunds, tax rates and product attributes. It also provides All or Any matching logic. Use All when every selected condition should apply to the result. Use Any when a result may match at least one of the selected conditions. Choosing the wrong mode can produce a segment that looks plausible but does not answer the intended question.
A practical sequence is:
- Choose the required preset or custom date range.
- Add the product, coupon, customer, status, refund, tax or attribute criteria that define the segment.
- Select All or Any matching logic deliberately.
- Review the resulting rows and confirm that the report context still matches the original business question.
Available controls can vary by WooCommerce version and installed extensions, so do not assume that every report offers the same fields or options.
Save and Reuse a Reporting View
After applying filters, sort the report table to inspect the most relevant rows first. Where supported, filters can be retained in the report URL, which can make a recurring view easier to reopen. Report data can also be exported as CSV where the relevant report supports that option.
These features help create a repeatable process, but they do not replace validation. When sharing or reusing a report view, check the date range, filters and matching logic. A saved URL or CSV export is useful only when the underlying report definition remains clear.
Why WooCommerce Analytics Data Looks Inaccurate
Differences between Analytics figures and store records can have several documented explanations. Analytics data may be cached, a report may use a different period or date type, refunds may be represented as separate rows, or historical data may not have been imported. A third-party plugin may also change how analytics data is retrieved or which order statuses are included in totals.
Check Definitions Before Changing Data
Start with non-destructive checks. Compare the same date range and date type, confirm that the same report is being used, and review how refunds are presented. Then consider whether the relevant customers and orders exist in Analytics for the period being examined. Missing historical imports can make an older period look incomplete even when the underlying store records exist.
This is a practical troubleshooting sequence, not a complete diagnostic matrix for every possible data issue. Custom order-status implementations, database problems, external reporting systems and other configurations may require separate investigation. Do not delete analytics data as a first response.
Test Cache and Plugin-Related Causes Carefully
WooCommerce caches Analytics data to reduce the performance impact of generating reports. If a report appears stale, clearing the Analytics Cache is a documented troubleshooting step. If the discrepancy remains, plugin conflicts may be considered, especially where a plugin affects analytics retrieval or the order statuses included in totals.
Before clearing caches or deactivating plugins on a live store, take a backup and choose a low-risk maintenance window where appropriate. During a conflict test, deactivate only non-essential plugins one at a time and record the result. Clear the Analytics Cache after deactivation tests where the documented workflow calls for it. Neither cache clearing nor plugin testing guarantees that every discrepancy will be resolved.
How to Clear the Analytics Cache and Re-Import Historical Data
Cache clearing and historical-data import address different situations. Clearing the cache is intended to refresh cached analytics information. Importing historical data prepares Analytics to include earlier customer and order records. Both actions should be followed by verification in the relevant report rather than treated as automatic corrections.
Clear the Analytics Cache
The documented path is WooCommerce > Status > Tools. Use the Reset/Clear Analytics Cache tool. Before taking this step on a live store, create a backup and consider whether the action should be performed during a maintenance window.
After the cache operation, return to the same report context used during the original check. Use the same date range, date type and filters, then compare the result again. If the figures remain different, continue with definition checks and controlled plugin-conflict testing rather than assuming that the cache was the only cause.
Run and Review a Historical Import
Historical customer and order data can be imported from WooCommerce > Analytics > Settings. Use the historical-data import controls to select all data or define a date range. The import runs in the background, so monitor its progress rather than assuming that it has completed immediately.
Where the controls provide the option, store owners can choose to skip customers and orders that were previously imported. If order imports fail, review the import log, address the reported cause and use Retry failed imports where available. For a large dataset, importing smaller periods such as years or quarters can be a practical operational approach documented for the process.
Re-importing does not guarantee identical figures in every store setup. After completion, review the relevant report with a known date range and filters. Keep the backup and record the import period and any failed items so later checks have a clear history.
Practical Reporting Workflow for Store Owners
A consistent workflow reduces the risk of comparing unrelated figures. It also makes unusual results easier to investigate because each report has a recorded question, period and filter context.
A Repeatable Review Checklist
Use the following sequence for recurring analysis:
- Define the business question and select the report that addresses it.
- Set the date range, date type and comparison period.
- Apply report-specific quick or advanced filters.
- Choose All or Any matching logic when the Orders Report requires it.
- Sort the results and export CSV data where the report supports export.
- Validate unusual changes against refunds, order statuses, historical-import status and the report definition.
- Record the filters, period and troubleshooting action used for future reviews.
Keep Analytics interpretation separate from gateway payouts, accounting records and tax filings. If a cache is cleared, a historical import is run or a plugin is tested, repeat the review using the same report context. This creates a more reliable process without presenting it as a universal reconciliation method for every extension or store configuration.
WooCommerce Analytics is most useful when store owners compare like with like: the same report definition, date settings, filters and business question. Orders, revenue, products, variations, customers, stock and the other documented report areas can support different types of analysis, while filters and comparisons make the results more specific. When figures look incomplete or inconsistent, first check the context, refund rows and historical-data status. Cache clearing, controlled plugin testing and historical imports are documented troubleshooting steps, not guarantees. Explore our WordPress plugins, WooCommerce extensions, themes and membership plans to find the right tools for your website.