
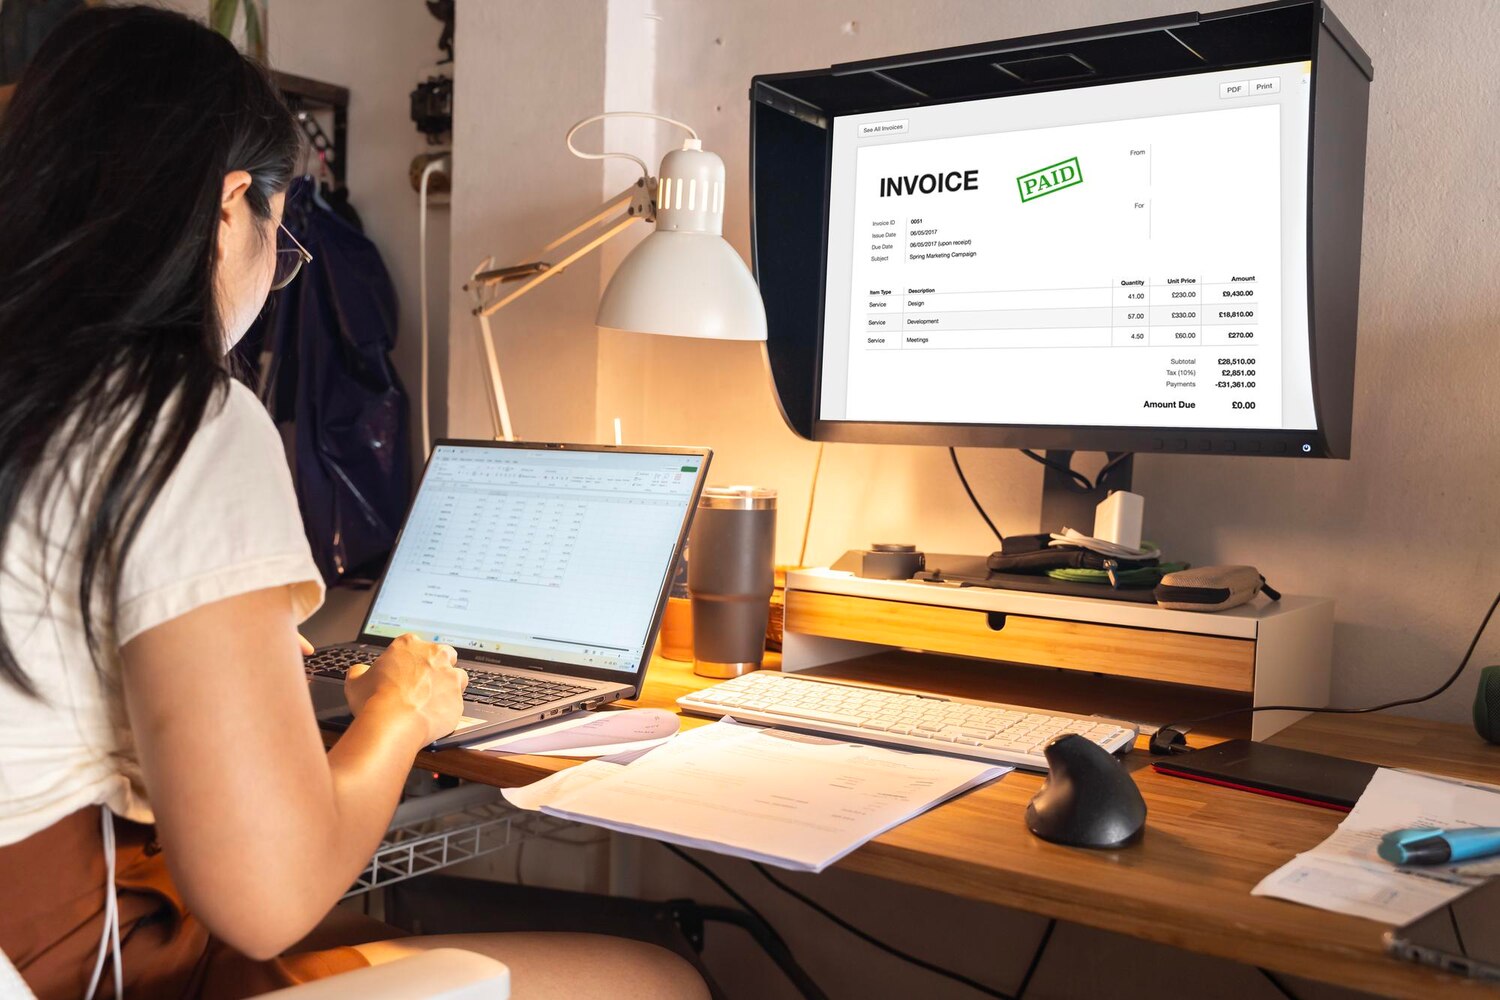
WooCommerce PDF invoices are useful only when the entire document workflow is consistent: business information must appear correctly, the right order event must trigger delivery, customers should be able to retrieve their documents, and refunds must be reflected separately. The PDF Invoice and Credit Notes extension groups the main controls under WooCommerce > Settings > Invoices, but its settings are only one part of the process.
Before activating automatic delivery, separate technical configuration from accounting and legal decisions. WooCommerce email events, refund processing, document numbering, customer access and local invoicing requirements can affect the final workflow. The safest approach is to configure the documented options, select triggers that match the store’s process, and verify every scenario on staging or in a payment gateway’s sandbox or testing mode where available.
What WooCommerce PDF Invoices and Credit Notes Cover
The selected extension covers PDF invoices, credit notes, document appearance, delivery triggers and customer downloads. Its central administration page is WooCommerce > Settings > Invoices. From there, the merchant can enter company details, select an invoice theme, configure when invoices or credit notes are sent, and enable download buttons in the customer account.
These functions are connected, but they are not identical. Generating a PDF does not by itself decide when an invoice should legally be issued. Attaching a file to an email is different from making it available in My Account. A credit note trigger is also related to a refund workflow, not merely to a changed order label.
Separate documents from compliance decisions
Invoice content, tax presentation, correction documents, retention and numbering should be treated as store-specific accounting controls. The extension documentation does not establish invoice validity, tax obligations, retention periods or numbering requirements for every jurisdiction. Therefore, do not treat the configuration page as a substitute for an accountant or local tax authority.
Before choosing an automatic trigger, establish how the store handles payment acceptance, fulfilment, completed orders and refunds. Then compare that process with the available extension settings. This prevents a technically successful automation from producing documents at the wrong stage.
Initial PDF Invoice Configuration
After installing and activating the PDF Invoice and Credit Notes extension, open WooCommerce > Settings > Invoices. Complete the business information first, then review appearance, delivery and customer-access options. Save the settings before beginning scenario-based tests.
The WooCommerce > Settings > Invoices path
The documented business fields include the company name, full address, phone number and email address. Enter them carefully, because these values will be used in generated documents. Check spelling, formatting and the recipient address before enabling automated messages.
The page is also where the merchant reviews invoice and credit-note triggers, customer download access, custom invoice fields and the credit-note prefix. Keep a record of the chosen configuration, particularly before changing settings on a live store. A backup and written configuration record make later comparison easier.
Appearance and custom fields
Uploading a company logo and selecting an invoice theme are optional documented steps. Use them to align the PDF with the store’s existing document process, then inspect the actual generated file rather than judging the settings only from the administration screen.
Custom invoice fields should be added only when they support information already required by the store’s document workflow. Do not assume that the listed fields constitute every legal invoice requirement. Before customer delivery, review the PDF’s business information, totals, configured tax display and currency.
Choosing Invoice and Credit-Note Email Triggers
The extension documents three delivery triggers: sending an invoice when an order is processing, sending an invoice when an order is completed, and sending a credit note when an order is refunded. The correct choice depends on the merchant’s operational and accounting process, so no single trigger is universally appropriate.
Processing versus Completed invoices
A processing-order trigger sends the invoice at the processing event. A completed-order trigger waits for the completed event. Compare these options with the moment when payment is accepted and the point at which the store considers the order ready for the relevant document.
WooCommerce treats processing and completed customer messages as distinct email types. Review WooCommerce > Settings > Emails and test the actual message generated in the store. Do not assume that every customer email contains a PDF or that changing the extension trigger changes every email type in the same way.
Refunded orders and credit notes
The documented credit-note trigger is a refunded order. However, changing an order status to Cancelled or Refunded does not automatically return money to the customer. An automatic refund uses a compatible payment gateway and returns funds through the original payment method. A manual refund records the refund in the store, but the merchant must return the money separately.
For that reason, verify the store’s real refund process before enabling credit-note delivery. Check which event represents an actual refund, which email is sent, who receives it and whether the generated document contains the expected order information. Also verify recipient addresses and the status of the relevant WooCommerce email.
Customer Downloads from My Account
Automatic email attachments are not the only way to provide documents. The extension can show invoice and credit-note download buttons in the Orders section of the customer’s My Account page. This gives customers a self-service route when they need to retrieve a document later.
Enable the Orders download buttons
Under WooCommerce > Settings > Invoices, enable the customer-access option for invoice and credit-note downloads, then save the settings. Test the result with a customer account, not only with administrator access. Use an order for which an invoice has actually been generated and a refunded order where a credit note is expected.
Confirm that the buttons appear in the documented Orders area and that the relevant customer can access the corresponding documents. Custom account pages, membership configurations or other extensions may not behave identically to the standard workflow. Also check that documents are not exposed through publicly guessable URLs and that access is limited to the relevant customer or authorized store staff.
Invoice Numbering, Prefixes and Document Consistency
Numbering should be treated as an accounting control, not merely as a visual detail. The documentation confirms that administrators can change the credit-note prefix from the invoice settings and add custom invoice fields. It does not define a universal invoice-numbering algorithm.
What the documentation confirms
Review the available credit-note prefix and any numbering-related controls in the selected extension version. Record the values before changing them and compare generated documents with the merchant’s invoicing process. Do not claim that the extension supports resetting, editing or sequencing behavior unless those options are explicitly documented for the installed version.
The extension alone should not be presented as proof of compliance with local accounting or tax rules. If numbering must follow a particular jurisdictional process, verify the required approach separately. Before modifying live settings, back up the site and document the current configuration so that any change can be traced.
Pre-Launch Testing and Troubleshooting Checklist
Test the complete document workflow before enabling it on a live store. Official WooCommerce testing guidance supports using a staging site and, where available, a payment gateway sandbox or testing mode. Test orders can trigger emails and appear in analytics, so avoid live payment methods and remove test orders afterward.
Scenario-based verification
Use separate scenarios for the principal order and refund events. After each test, inspect both the document and the customer-facing workflow.
- Place a test order that reaches Processing and check whether the configured invoice is generated and attached to the expected message.
- Test an order that reaches Completed and compare its invoice timing and email attachment behavior.
- Use the store’s actual refund workflow to test the refunded-order credit note.
- Review the PDF layout, company details, totals, configured tax display, currency, prefix and observed numbering behavior.
- Sign in as a test customer and verify the invoice or credit-note download buttons in the Orders area of My Account.
- Confirm that no real payment, shipment, fulfilment or analytics process is unintentionally triggered.
Check the resulting WooCommerce emails individually. Processing, completed and refunded order emails are separate types, and extensions can add further email types. Delete test orders when verification is complete to reduce the risk of accidental fulfilment, shipping or analytics contamination.
Common failure points
If an attachment is missing, first check the relevant email status, recipient configuration and extension trigger. Then compare the order status with the email event that was actually sent. The exact email list and presentation may also vary because of installed extensions, the theme or custom code, so test the live configuration rather than relying on assumptions.
If a credit note does not appear, check whether a refund was genuinely processed. A status change alone is not a refund. If customer downloads fail, verify that customer-access options are enabled, that the document was generated, and that the test account is viewing the standard Orders area in My Account.
Finally, compare numbering and document content with the store’s accounting process before launch. Keep the staging results, configuration notes and test observations together. This creates a practical reference when the store later changes email settings, refund procedures or document presentation.
In summary, configure the PDF Invoice and Credit Notes extension from WooCommerce > Settings > Invoices, enter and verify the business information, select Processing or Completed invoice delivery according to the store workflow, and use the refunded event for credit-note testing. Enable customer downloads only after checking account access, and treat the credit-note prefix and observed numbering behavior as documented controls rather than a universal accounting policy. Test processing, completed and refunded scenarios on staging or in test mode, inspect PDFs and email attachments, verify the customer account, and remove test orders afterward. Local tax and accounting requirements still need separate confirmation. Explore our WordPress plugins, WooCommerce extensions, themes and membership plans to find the right tools for your website.